Free Raspberry Pi Remote Monitoring: Setup & Tips
Are you ready to unlock the full potential of your Raspberry Pi, transforming it into a powerful, remotely accessible machine from anywhere in the world? Setting up remote access for your Raspberry Pi doesn't have to be a complex, time-consuming ordeal. With the right tools and a little know-how, you can effortlessly monitor and control your device, enhancing your projects and streamlining your workflow.
The quest for seamless remote access often begins with the desire to monitor our devices without being physically present. The Raspberry Pi, a marvel of compact computing, excels in this arena. The ability to remotely monitor and control it opens up a world of possibilities, from home automation and server management to educational projects and personal computing. The good news is, achieving this level of control is far more accessible than you might think. The secret lies in a few clever software choices and a well-executed setup.
Here is a table on Raspberry Pi Remote Access Setup:
| Category | Details |
|---|---|
| Objective | Enable remote access and monitoring for a Raspberry Pi device, allowing control from any location with an internet connection. |
| Methods |
|
| Tools |
|
| Software |
|
| Key Steps |
|
| Security Considerations |
|
| SD Card Specifications |
|
| Troubleshooting |
|
| Alternatives |
|
For more detailed information on remote access setup and security best practices, please refer to the official Raspberry Pi documentation: https://www.raspberrypi.com/documentation/
Let's break down the process, offering a clear roadmap for achieving remote control and monitoring of your Raspberry Pi. Firstly, we must address the initial setup, ensuring the Pi is ready to receive our commands from afar. A core element of this is establishing a secure connection, and understanding your network configuration. We will explore the essential steps, ensuring your setup is both functional and robust.
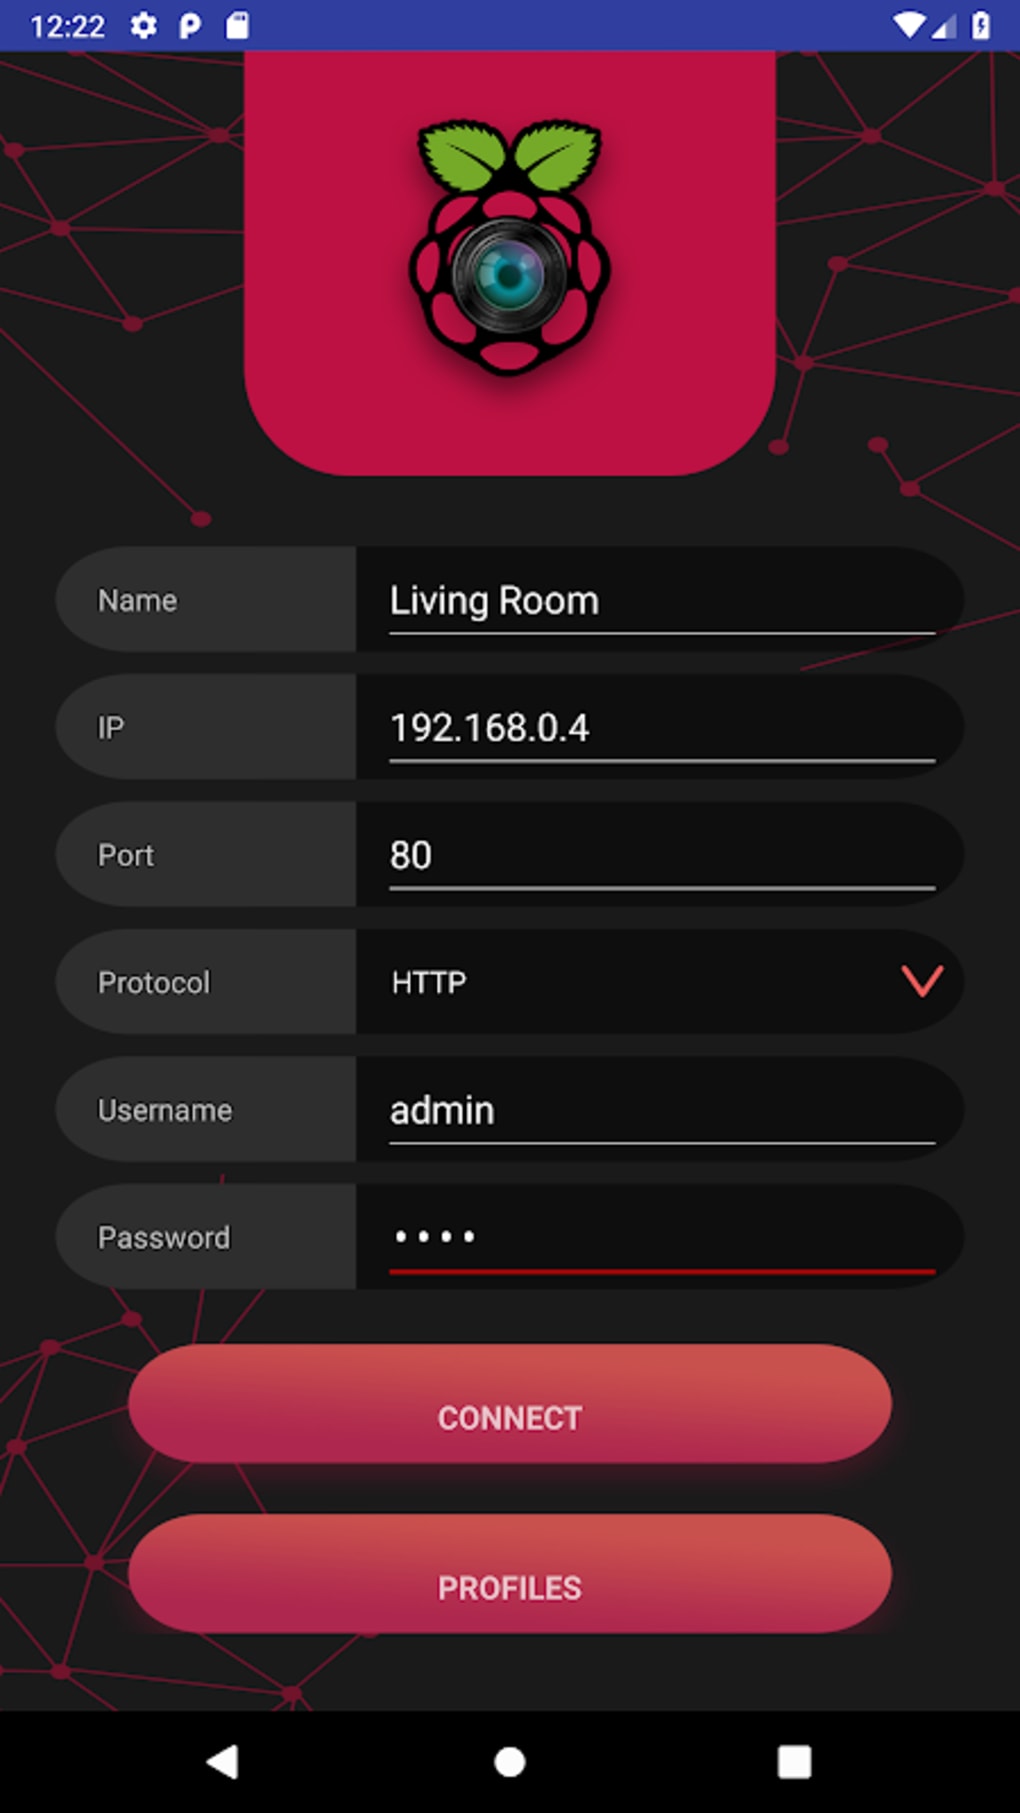
One of the easiest first steps is to obtain the IP address of your Raspberry Pi. This is crucial for establishing the initial connection. You can find this address through your router's administration panel. Many routers have an easy to navigate interface that lists all devices connected to the network, along with their IP addresses. You can also find it from the Raspberry Pi itself if you have a monitor and keyboard attached. You can either use the command `hostname -I` in the terminal to display the IP address or check the network settings in the graphical user interface.
With the Raspberry Pi's IP address in hand, the next logical step is preparing the operating system. This involves selecting an appropriate OS image and flashing it to a microSD card. For most users, Raspberry Pi OS (formerly Raspbian) is the best option. It's optimized for the Pi's hardware and offers a user-friendly experience. The official Raspberry Pi Imager is the tool of choice for flashing the OS image. You can download the imager from the Raspberry Pi website. It provides a simple, intuitive interface, guiding you through the entire process, from selecting the OS to writing it to the SD card. Once the image is flashed, insert the SD card into your Raspberry Pi and power it on.
Once Ubuntu is installed, or your preferred OS is up and running, the focus shifts to remote access. The simplest methods typically involve either SSH (Secure Shell) for command-line access or VNC (Virtual Network Computing) for a graphical desktop experience. SSH provides a secure channel to execute commands and manage your Pi remotely. VNC offers a remote desktop environment, replicating your Pi's screen on your remote device.
To remotely control your Raspberry Pi from any device connected to the internet, several strategies can be employed. One approach is to expose SSH or VNC on your Raspberry Pi over the open internet, within a VPN (Virtual Private Network), or using an external service like RealVNCs cloud VNC viewer. RealVNC offers a user-friendly cloud-based solution that simplifies the remote access setup. Alternatively, you can use Raspberry Pi Connect, a free screen-sharing and remote-shell service provided by Raspberry Pi.
For those who prefer a more hands-on approach, setting up VNC provides a remote desktop experience that mirrors the Raspberry Pi's interface on your laptop, complete with mouse and keyboard control. After the files are written and verified, the setup is complete. A message will pop up to remove the SD card from the reader. Click continue, and safely remove the microSD card. Access your Raspberry Pi from anywhere.
Before embarking on any remote access setup, it is crucial to consider security implications. Exposing your Raspberry Pi to the internet introduces potential security risks. Therefore, implementing robust security measures is paramount. Strong passwords are a must. Employing a firewall to restrict access to specific ports is also advisable. VPNs are highly recommended for encrypting your connection. Regular software updates are essential to patch security vulnerabilities.
To monitor your Raspberry Pi's CPU usage, memory, disk space, and other vital system metrics, you can utilize system monitor applications. Many free options are available, providing real-time insights into your Pi's performance. These tools can help you identify performance bottlenecks and optimize your Pi's operation. You can utilize applications like `htop` or `top` in the command line for quick monitoring. In addition, graphical system monitoring applications offer a user-friendly interface. The specific tools you choose will depend on your preferences and the complexity of the monitoring you require.
Choosing the right SD card is an important factor to consider. While any SD card with a capacity of less than 2TB should work, a faster card will result in improved performance. For Raspberry Pi OS installations, using an SD card with at least 32GB of storage is recommended, while for Raspberry Pi OS Lite, 16GB may suffice. Always use a reputable brand to ensure reliability.
For certain Raspberry Pi models, especially the Raspberry Pi 3 Model B, network booting capabilities can be enabled by making a few changes. By writing a specific configuration option to the SD card, you can set a bit in the one-time programmable (OTP) memory within the Raspberry Pi's System on a Chip (SoC). This allows the Pi to boot from a network server instead of from the SD card. This configuration requires booting from an SD card initially, making a permanent change, and then configuring the network boot.
Another important tip is to consider headless setup, which involves configuring your Raspberry Pi without a monitor or keyboard. By tweaking a few files on the microSD card, you can set your Raspberry Pi for remote access without ever needing to attach a monitor or keyboard. This is particularly useful if you intend to use your Pi for a dedicated purpose where a display is not required.
In conclusion, setting up remote monitoring and access for your Raspberry Pi is a rewarding endeavor. By understanding the basic principles, employing the right tools, and prioritizing security, you can transform your Raspberry Pi into a versatile and powerful device. The journey of exploration begins with a single step configuring your device to receive commands from any place with an internet connection.


