Best Free Software For Remote Pi Access: Simple Guide
Are you tired of being tethered to your Raspberry Pi, confined by its physical location? The ability to access your Raspberry Pi remotely, from anywhere in the world, is not just a convenienceit's a gateway to boundless possibilities.
In today's interconnected world, the ability to access your Raspberry Pi remotely is more crucial than ever. Whether you're a hobbyist, a student, or a professional, the convenience and flexibility offered by remote access can significantly enhance your workflow and creative endeavors. Imagine the power to monitor your home automation system from across the globe, debug a project while on vacation, or simply access your files and applications without being physically present. The good news? Several free software options make this a reality, providing a range of features from basic command-line access to advanced graphical interfaces.
Let's delve into the various methods and tools available for achieving this, ensuring you can tailor your setup to perfectly fit your specific needs and technical expertise. We'll explore the "how-to" of each method, providing step-by-step instructions and practical advice to ensure you're up and running in no time. From basic SSH connections to more sophisticated graphical interfaces, we'll leave no stone unturned in our quest to grant you the freedom to control your Pi from anywhere, anytime.
Here's a table detailing some of the best free software options for remote access to your Raspberry Pi, along with their key features and benefits:
| Software | Key Features | Pros | Cons |
|---|---|---|---|
| SSH (Secure Shell) | Command-line access, file transfer, port forwarding. | Secure, widely supported, simple to set up. | Command-line interface only (without additional setup). |
| VNC (Virtual Network Computing) | Graphical desktop access, screen sharing. | Easy to set up, graphical interface, cross-platform. | Can be slower than SSH, security concerns if not configured properly. |
| Chrome Remote Desktop | Graphical desktop access, cross-platform, easy setup. | Simple and intuitive, access via web browser or dedicated apps. | Relies on Google account, requires internet connection. |
| TeamViewer | Graphical desktop access, file transfer, remote support features. | User-friendly, works across multiple platforms, file transfer is simple. | Can be slower than other options, free version is for personal use. |
| Xrdp | Provides access to the graphical desktop environment using the Remote Desktop Protocol (RDP). | Often faster than VNC and well-supported on many operating systems. | Requires initial setup and configuration, can be less straightforward than some alternatives. |
Before diving into the specifics of each method, let's take a moment to address a fundamental question: Why bother with remote access in the first place? In 2023, the answer is multi-faceted. The ability to access your Raspberry Pi from anywhere provides unprecedented flexibility, efficiency, and security.
Firstly, convenience. Imagine you're working on a project, and you need to make a quick modification to your Raspberry Pi's configuration. With remote access, you can do so from your laptop, tablet, or even your smartphone, regardless of your location. No more trips to the physical device, no more downtime.
Secondly, efficiency. Remote access streamlines your workflow. You can quickly diagnose and troubleshoot issues, transfer files, and monitor your projects in real-time. This leads to faster development cycles and less time wasted on repetitive tasks.
Thirdly, security. While it might seem counterintuitive, remote access, when implemented correctly, can actually enhance the security of your Raspberry Pi. You can monitor your system for vulnerabilities and security breaches, and if necessary, take immediate action to protect your data.
The tools you'll need to get started depend on the method you choose. Generally, you'll need a Raspberry Pi, an internet connection, a computer or device from which you'll be accessing the Pi, and the appropriate software installed on both devices. We'll cover the specific software requirements for each remote access method later on.
Setting up your Raspberry Pi for Remote Access
The first step in unlocking the full potential of remote access is to properly configure your Raspberry Pi. This crucial stage lays the foundation for everything else, so it's essential to get it right. Here's a step-by-step guide to prepare your Raspberry Pi for remote access:
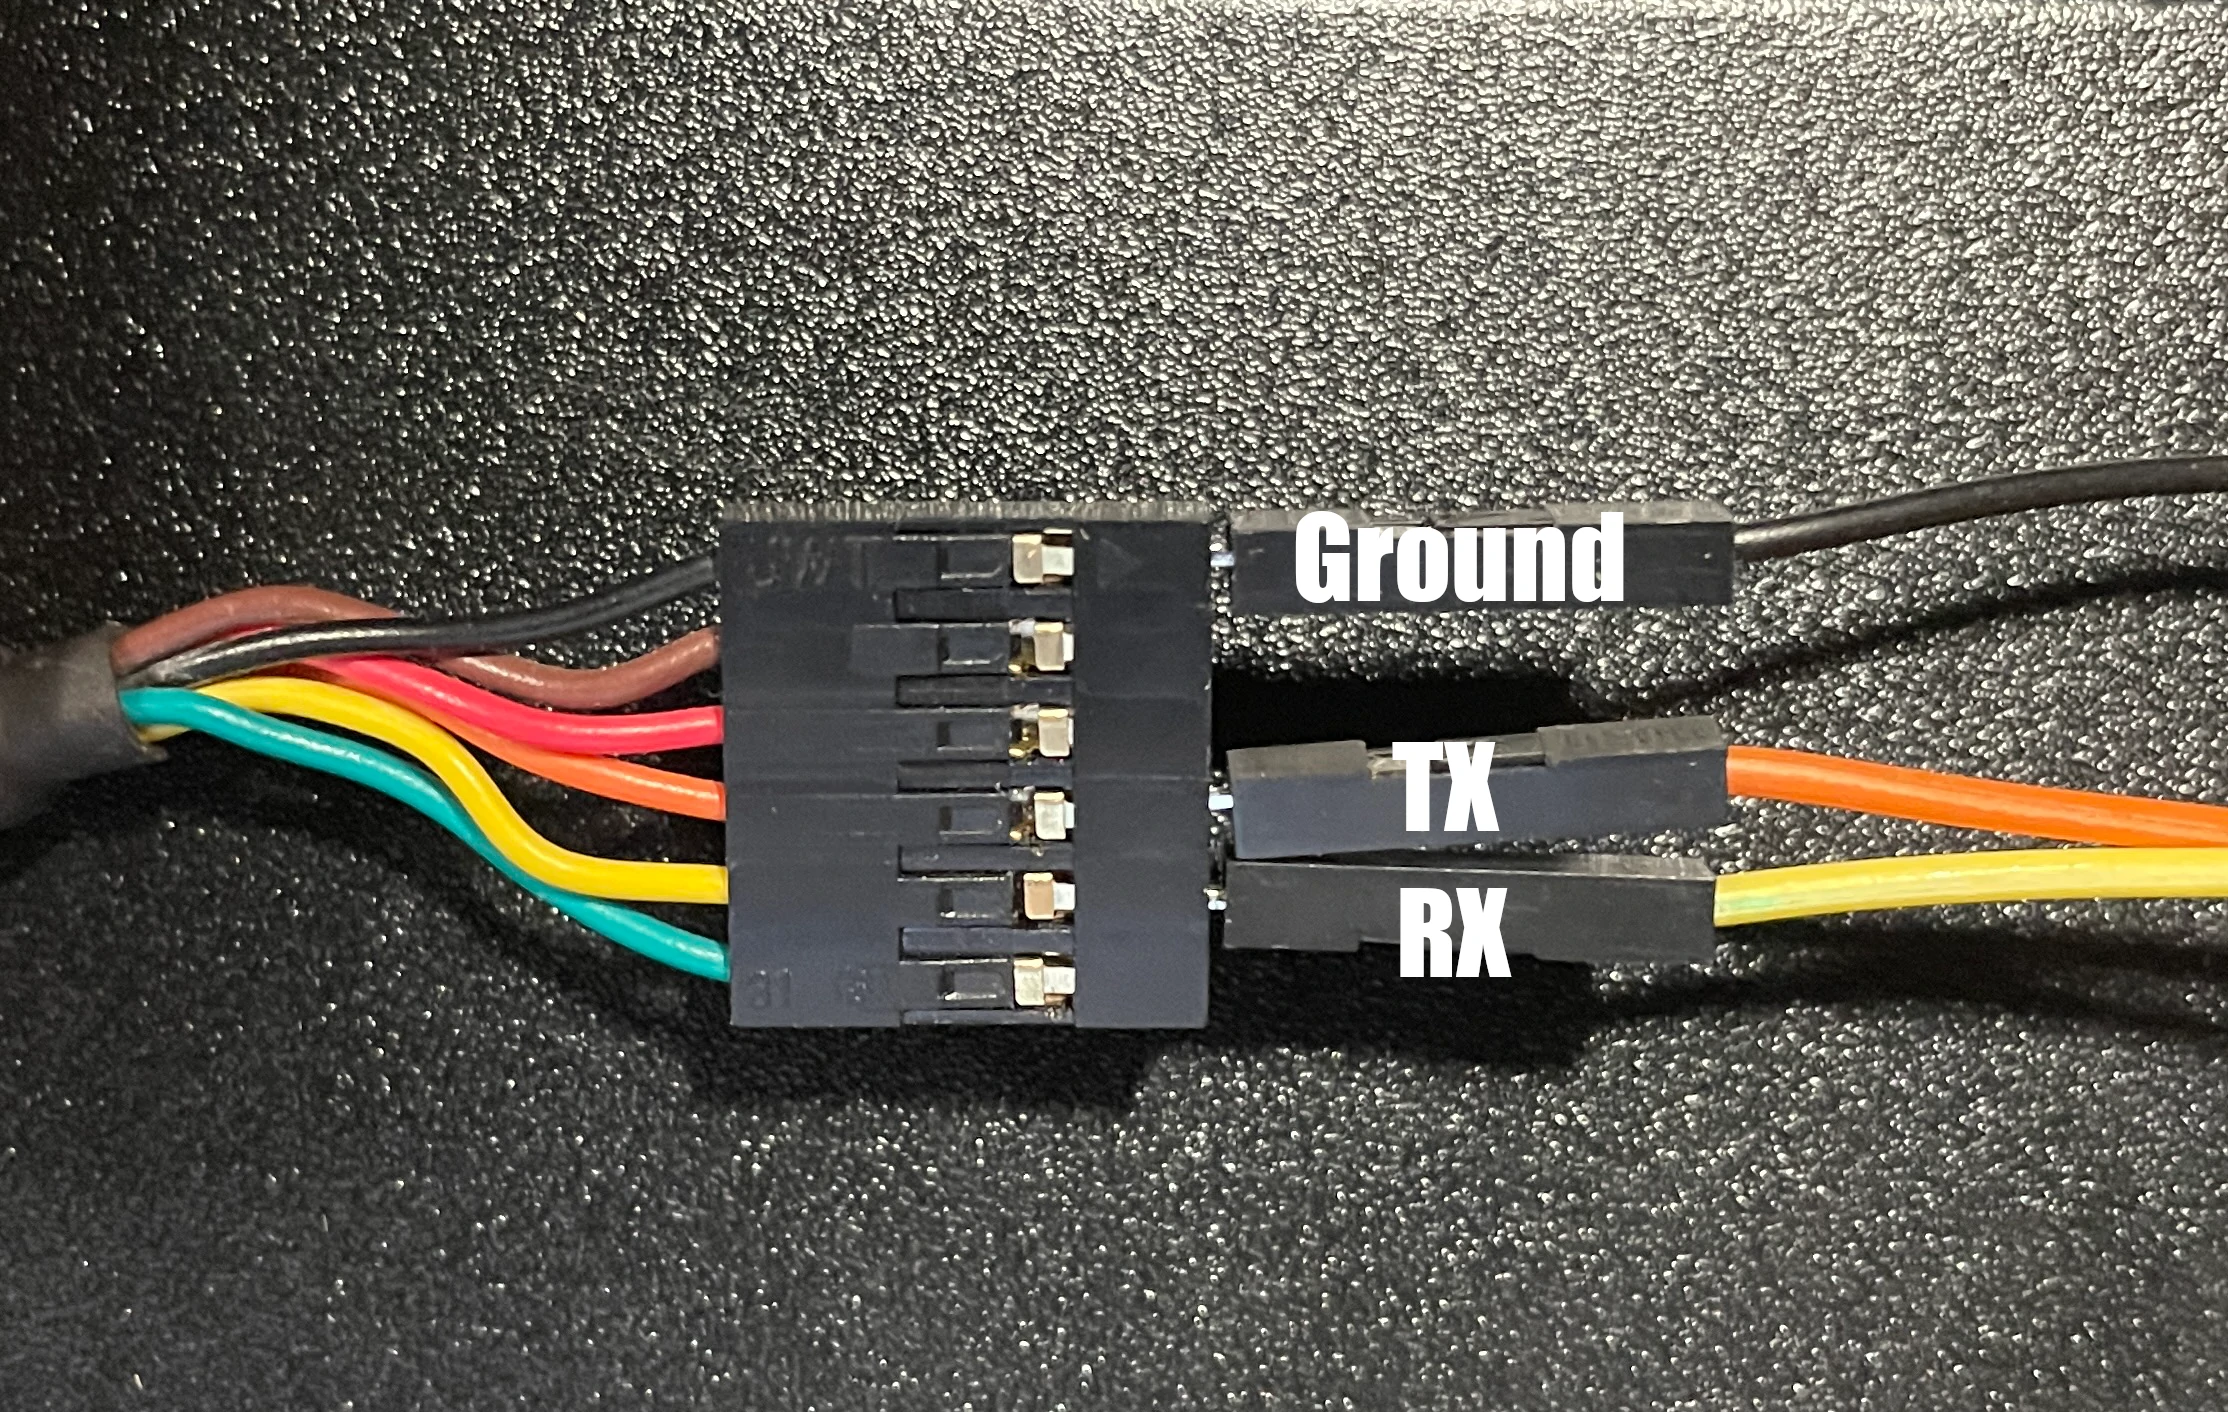
- Enable SSH on Your Raspberry Pi: SSH (Secure Shell) is your go-to tool for command-line access. It provides a secure way to interact with your Pi's command line interface. By default, SSH is often disabled on Raspberry Pi OS. Here's how to enable it:
- Using the Raspberry Pi Imager: If you're flashing your SD card using the Raspberry Pi Imager, you can enable SSH during the writing process. Click the "gear" icon before writing the image and check the "Enable SSH" option. You'll also need to set a username and password. If you're using the imager, this is the simplest method.
- Using the Command Line (if you have physical access):
- Connect a monitor, keyboard, and mouse to your Raspberry Pi.
- Boot up your Raspberry Pi and log in with the default username (pi) and password (raspberry).
- Open a terminal window.
- Run the command:
sudo raspi-config - Select "Interface Options."
- Select "SSH" and choose to enable it.
- Reboot your Raspberry Pi.
- Find Your Raspberry Pi's IP Address: You'll need your Pi's IP address to connect to it remotely.
- Via Command Line: Open a terminal window on your Pi (if you have physical access) and run the command:
hostname -I. This will display your Pi's IP address. - Via Router Interface: Log into your router's administration panel (usually by typing an IP address like 192.168.1.1 or 192.168.0.1 into your web browser). Look for a list of connected devices to find your Pi's IP address. The interface will vary based on your router's model.
- Via Command Line: Open a terminal window on your Pi (if you have physical access) and run the command:
- Configure Your Router (If Necessary): If you want to access your Pi from outside your local network, you'll need to configure your router to forward traffic to your Pi's IP address. This involves:
- Port Forwarding: You'll need to forward port 22 (the default SSH port) or the port you've configured SSH to use, to your Pi's local IP address. You'll find this setting in your router's administration panel, usually under "Port Forwarding," "Virtual Servers," or similar.
- Dynamic DNS (Optional, but Recommended): Your public IP address (the IP address your internet service provider assigns to your home network) can change over time. To avoid having to constantly update the IP address you use to connect to your Pi, set up a dynamic DNS service. Many free and paid services are available, such as No-IP or DuckDNS. Configure your router and/or Raspberry Pi with your dynamic DNS credentials. This allows you to use a domain name (e.g., myraspberrypi.duckdns.org) instead of your IP address to connect to your Pi.
Using SSH for Remote Access
SSH (Secure Shell) is one of the most popular and reliable methods for remote access to a Raspberry Pi. It provides a secure way to interact with your Pi's command line interface, allowing you to execute commands, transfer files, and more. Here's how to connect to your Pi using SSH:
- Open a Terminal on Your Computer: On most operating systems, you can open a terminal by searching for "Terminal" (Linux and macOS) or "Command Prompt" or "PowerShell" (Windows).
- Use the Command:
ssh pi@your_pi_ip_address- Replace
your_pi_ip_addresswith the actual IP address of your Raspberry Pi. - If you've set up a dynamic DNS, you can use the domain name instead of the IP address (e.g.,
ssh pi@myraspberrypi.duckdns.org). - You will be prompted for the password for the "pi" user. Enter the password and press Enter.
- If this is your first time connecting, you may be asked to confirm the connection. Type "yes" and press Enter.
- Replace
- You are now connected! You should see the command prompt of your Raspberry Pi. From here, you can execute commands as if you were sitting at the Pi.
Access Your Raspberry Pi From Anywhere
The ultimate goal of setting up remote access is to be able to access your Raspberry Pi from anywhere in the world. Once you've configured SSH and, optionally, set up port forwarding and dynamic DNS, you can connect to your Pi from any device with an internet connection. Ensure you have a stable internet connection on both your Raspberry Pi's end and the device you're using to connect.
Chrome Remote Desktop
Chrome Remote Desktop, offered by Google, is a free and officially supported remote access solution, making it a popular choice. It offers native apps for Windows, macOS, Linux, iOS, and Android, providing a user-friendly experience. To set up Chrome Remote Desktop on your Raspberry Pi:
- Install Chrome Remote Desktop on your Raspberry Pi
- Open a terminal on your Raspberry Pi.
- Run the following commands to download the necessary packages and install Chrome Remote Desktop:
sudo apt update sudo apt install -y gnome-session gdm3 sudo apt install -y chromium-browser wget https://dl.google.com/linux/direct/google-chrome-stable_current_armhf.deb sudo dpkg -i google-chrome-stable_current_armhf.deb sudo apt --fix-broken install - Once installed, you should be able to open the Chrome browser.
- Setup Chrome Remote Desktop
- Go to remotedesktop.google.com on your Raspberry Pi.
- Sign in with your Google account.
- Click the "Download" button to install the Chrome Remote Desktop extension. Follow the instructions to add the extension to your Chrome browser.
- Follow the setup instructions, which typically involve setting a PIN for remote access.
- Access your Pi remotely
- On your other device (computer, smartphone, or tablet), go to remotedesktop.google.com, sign in to your Google account, and select your Raspberry Pi.
- Enter the PIN you set up, and you should be connected to your Pi's desktop.
Tips and Tricks for Remote Access
Regardless of the remote access method you choose, there are several tips and tricks to help ensure a smooth and secure experience:
- Use Strong Passwords: Always use a strong and unique password for your Raspberry Pi to protect against unauthorized access.
- Keep Your Software Updated: Regularly update your Raspberry Pi's operating system and installed software to patch security vulnerabilities. Use the command
sudo apt update && sudo apt upgradeto perform updates. - Two-Factor Authentication (2FA): Consider using 2FA if your remote access solution supports it. This adds an extra layer of security by requiring a code from your phone or another device.
- Monitor Your System: Keep an eye on your Raspberry Pi's resource usage and logs to detect any suspicious activity.
- Close Unused Ports: Only open the ports you need for remote access and close any unnecessary ports on your router.
- Regularly Back Up Your Data: Make regular backups of your Raspberry Pi's data in case of system failures or security breaches.
- Consider a VPN: For an extra layer of security, consider setting up a Virtual Private Network (VPN) on your home network. This encrypts all your internet traffic and adds an additional layer of protection.
- Test Your Connection Regularly: After setting up remote access, test your connection from various devices and locations to ensure it works as expected.
Remote Access with Raspberry Pi Connect
Raspberry Pi Connect is a streamlined solution designed to simplify remote access. It provides a secure method to connect to your Raspberry Pi desktop and command line directly from your web browser. You can connect, execute commands, and manage your Pi from any device that has a web browser. While the exact setup process is subject to change, the general steps involve installing the necessary software on your Raspberry Pi and then connecting through a web interface, usually by entering the Raspberry Pi's IP address or a custom domain name.
Samba and File Sharing
Samba is a valuable tool if you need to share files between your Raspberry Pi and other devices on your network. Samba is a free software implementation of the Server Message Block (SMB) networking protocol, which allows you to share files and printers. To use Samba, you'll need to:
- Install Samba:
sudo apt install samba samba-common-bin - Configure Samba: Edit the Samba configuration file
sudo nano /etc/samba/smb.confto define the shared folders and access permissions. - Create Samba User: Add a Samba user to your Pi:
sudo smbpasswd -a pi(this assumes the user "pi"). - Access Shared Files: From your other devices, you should be able to access the shared folders through the network, typically by entering the Raspberry Pi's IP address in your file explorer (e.g.,
\\192.168.1.100\sharename).
Exploring the Possibilities
The ability to remotely access your Raspberry Pi opens up a vast range of possibilities. You can execute commands, transfer files, and even run graphical interfaces, all from the comfort of your preferred device. Here are just a few ideas to spark your imagination:
- Home Automation: Control and monitor your smart home devices (lights, thermostats, security systems, etc.).
- Media Server: Access your media files (movies, music, photos) from anywhere.
- Remote Monitoring: Monitor your home security cameras or sensor data.
- Development and Testing: Develop and test software projects on your Pi from anywhere.
- Educational Purposes: Learn programming, experiment with IoT devices, or conduct remote science experiments.
Conclusion
Accessing your Raspberry Pi remotely is an invaluable skill for any user. With the availability of free and easy-to-use solutions like SSH, Chrome Remote Desktop, and VNC, you can unlock the full potential of your Raspberry Pi. By following the tips and tricks outlined in this guide, you can ensure a secure, smooth, and efficient remote access experience. Now is the time to grab your Pi, implement these methods, and start exploring the world of remote access. Dont hesitate to share your experiences, and contribute to the Raspberry Pi revolution!


